BMS principle
Battery management systems (BMS) can be quite expensive but are an essential part of the equipment when dealing with Lithium battery technology, as they don't like being depleted or charged excessively.
We require something to tell us the status and also safeguard us from these undesirable conditions as we can't monitor them at all times during usage and charging. That's where the BMS comes in.
They are devices with several sensors and inputs effectively controlling contactors and relays (electrically operated switches) cutting off appliances should there be a need for this.
Which one?
There are several manufacturers of BMS with significant price variations. The quality of the system is essential for the safety, reliability and durability of the system. I wanted a unit separated from the cells itself for protection from moisture, be able to customise data output, use CAN bus and have good cell balancing algorithm and capacity.
The Orion Jr from Ewert Energy Systems offered me this and included an option with CAN bus interface, which is a universal way of transferring data, commonly used in automobiles.
The instrument
The BMS itself in many cases require a display or instrument to give us information during usage. This is also an expensive piece of equipment which I found disappointing despite having purchased a well reputed one. I found it lacked the information I wanted but more frustratingly unable to store the state of charge when I turned the system off, essentially showing 100% battery capacity every time I turned the power back on regardless of the actual battery state.
My solution
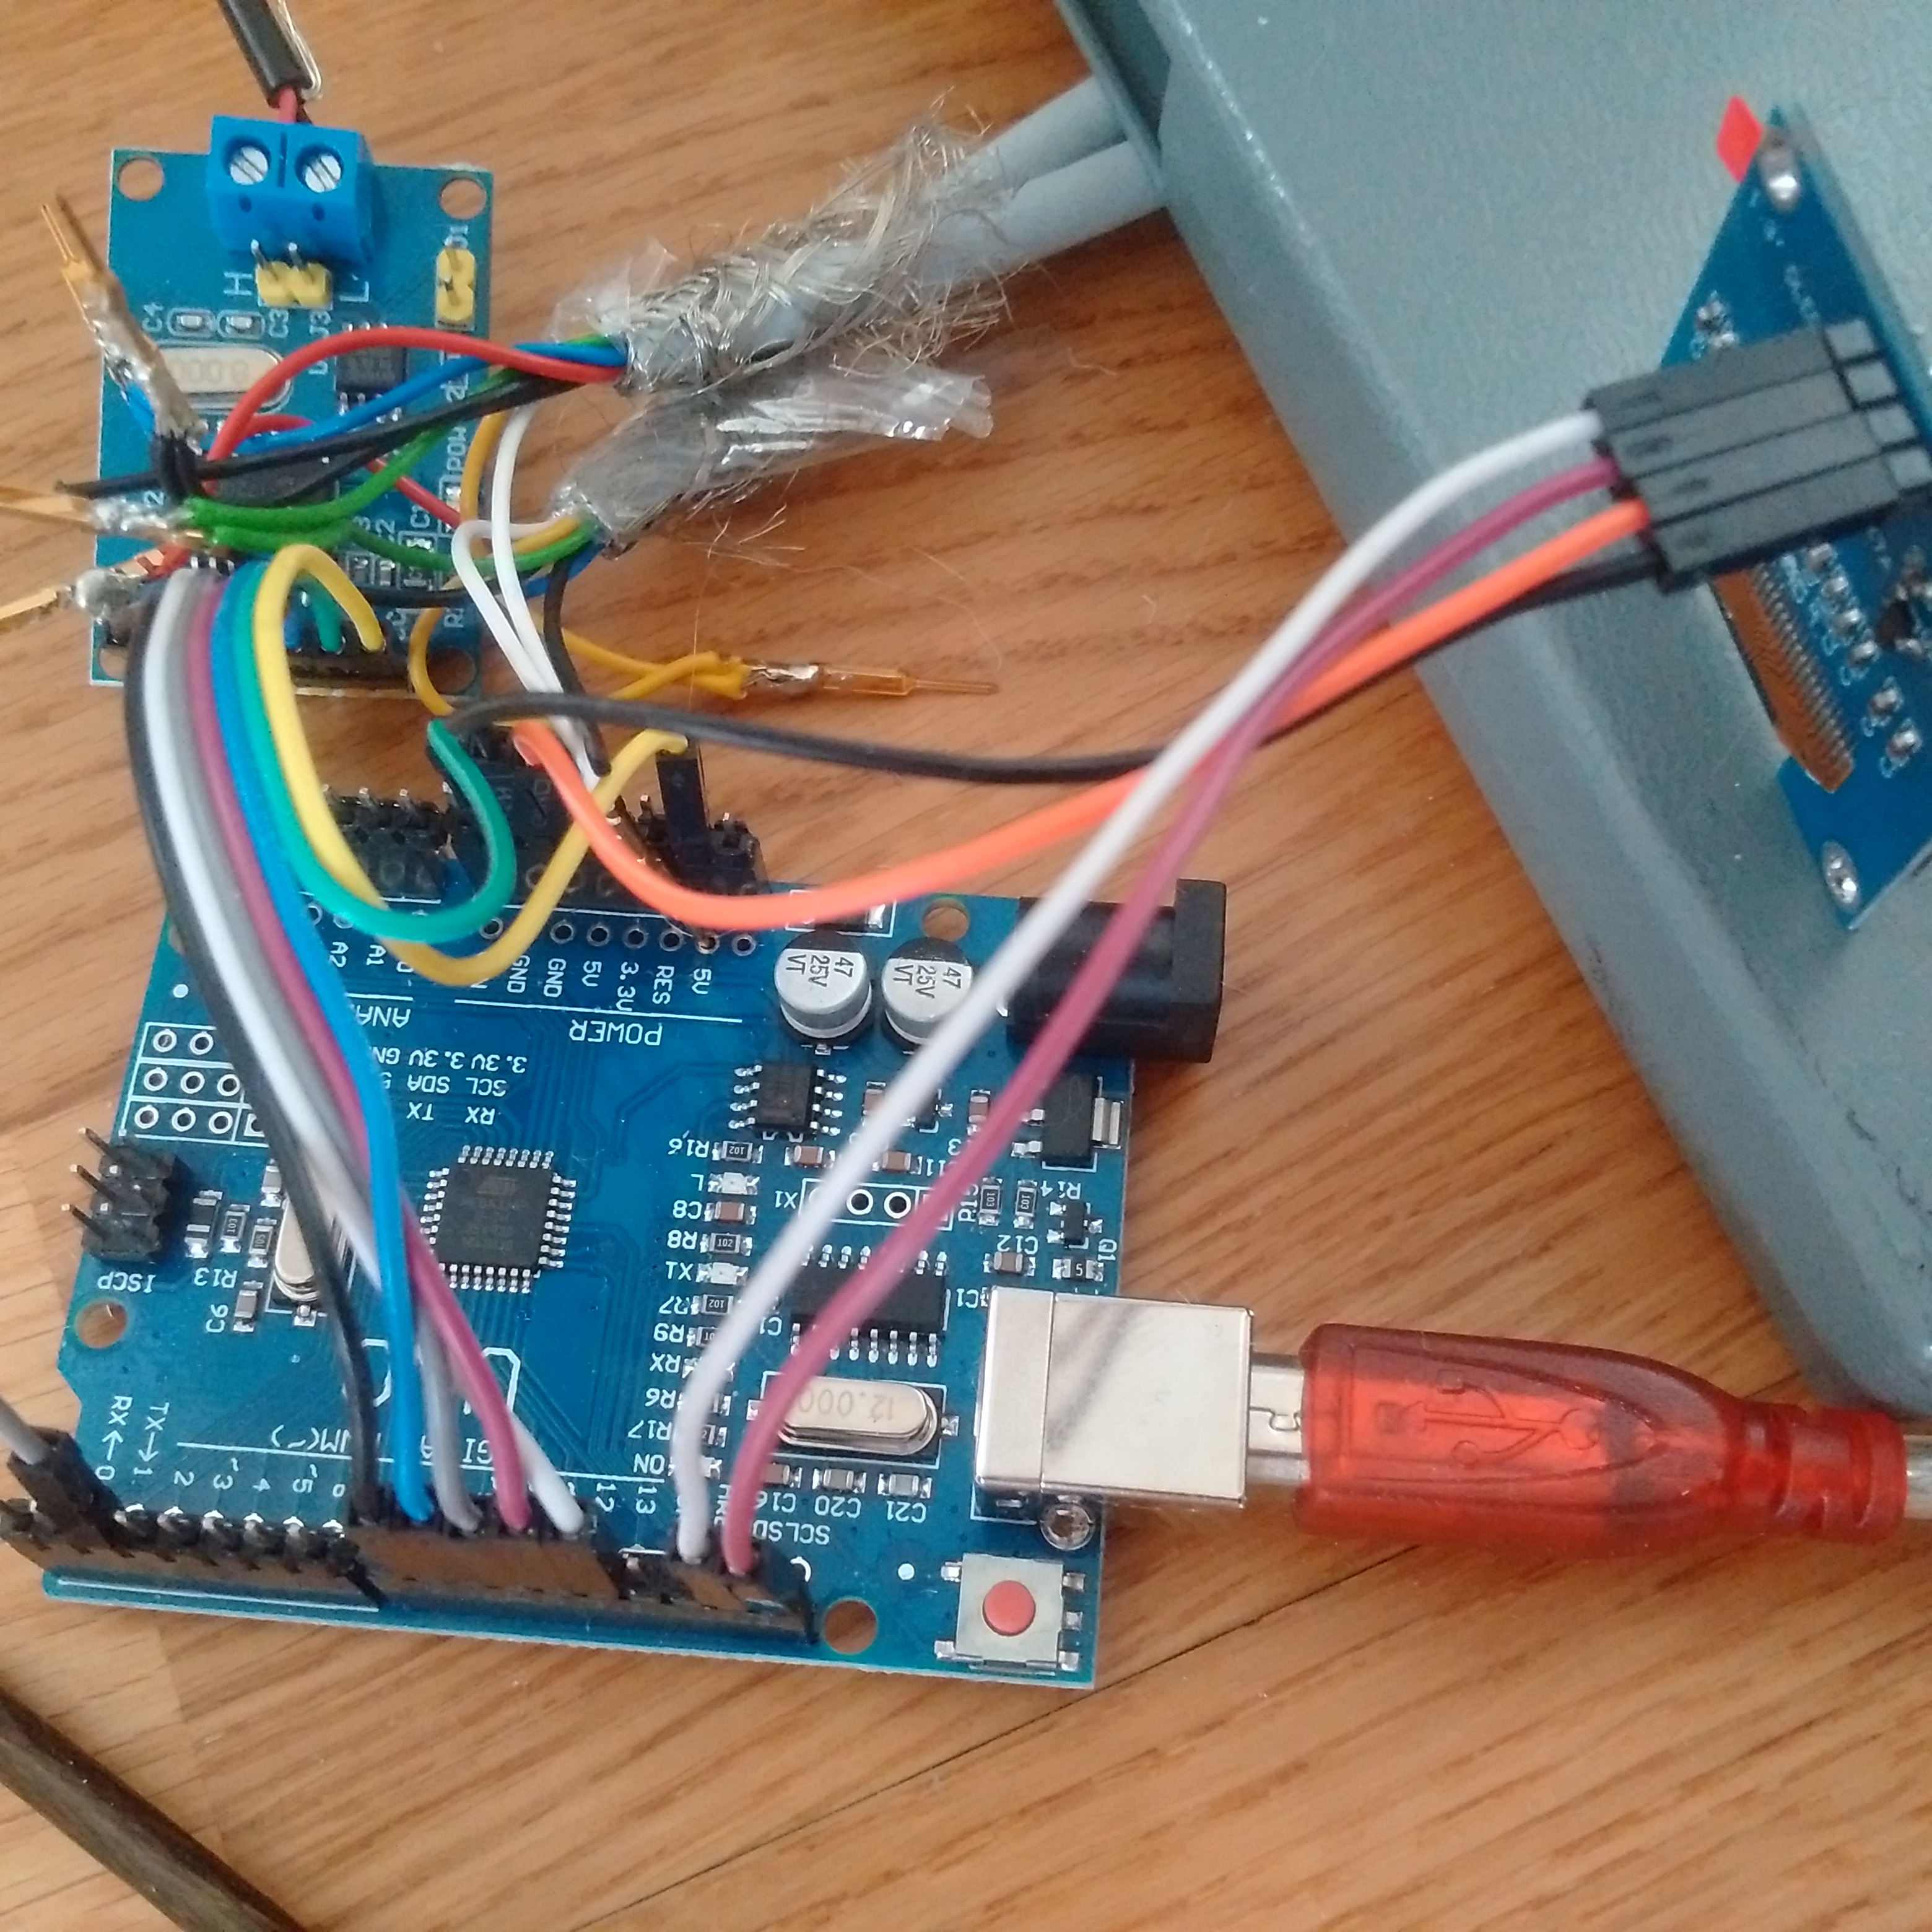
With the use of a CAN bus shield, 128x64 pixel OLED display, a single push button and an Arduino Uno this instrument is much more sophisticated than a €250 battery monitor from a respectable manufacturer and in my case for ⅕ of the price.
The way it works
Information is received from the BMS via the CAN bus all easily customised through Ewerts computer software.
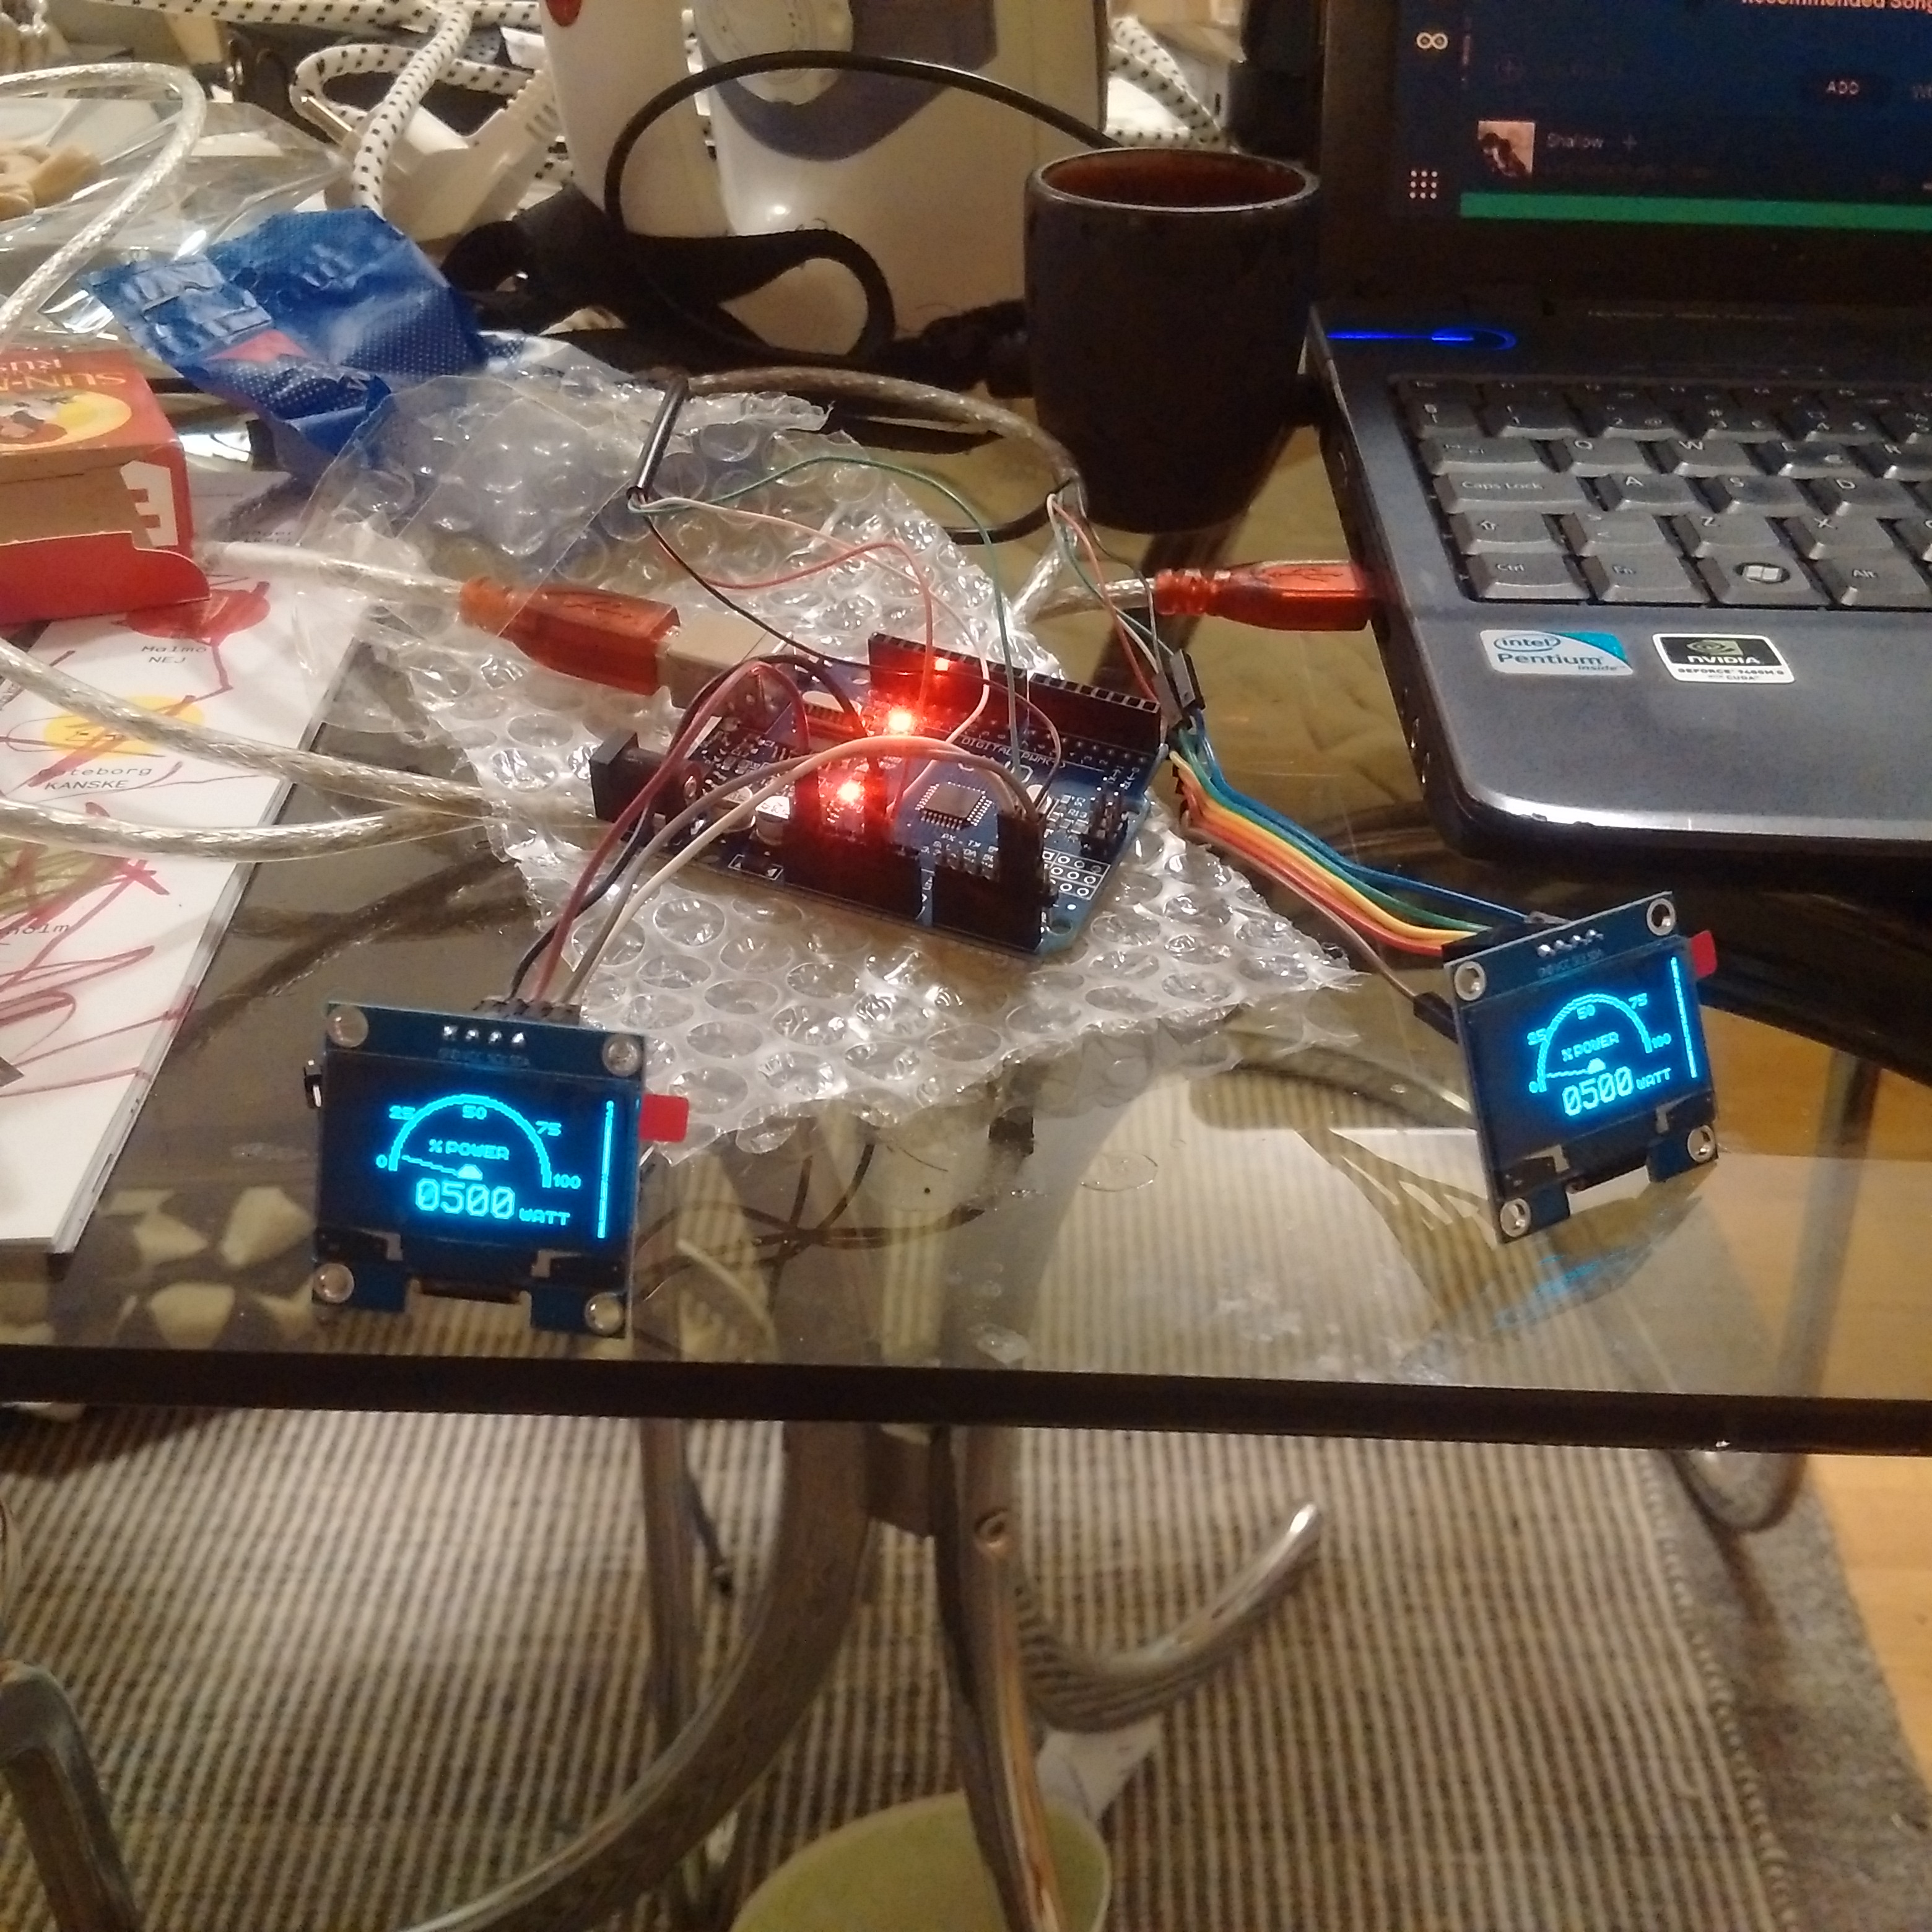
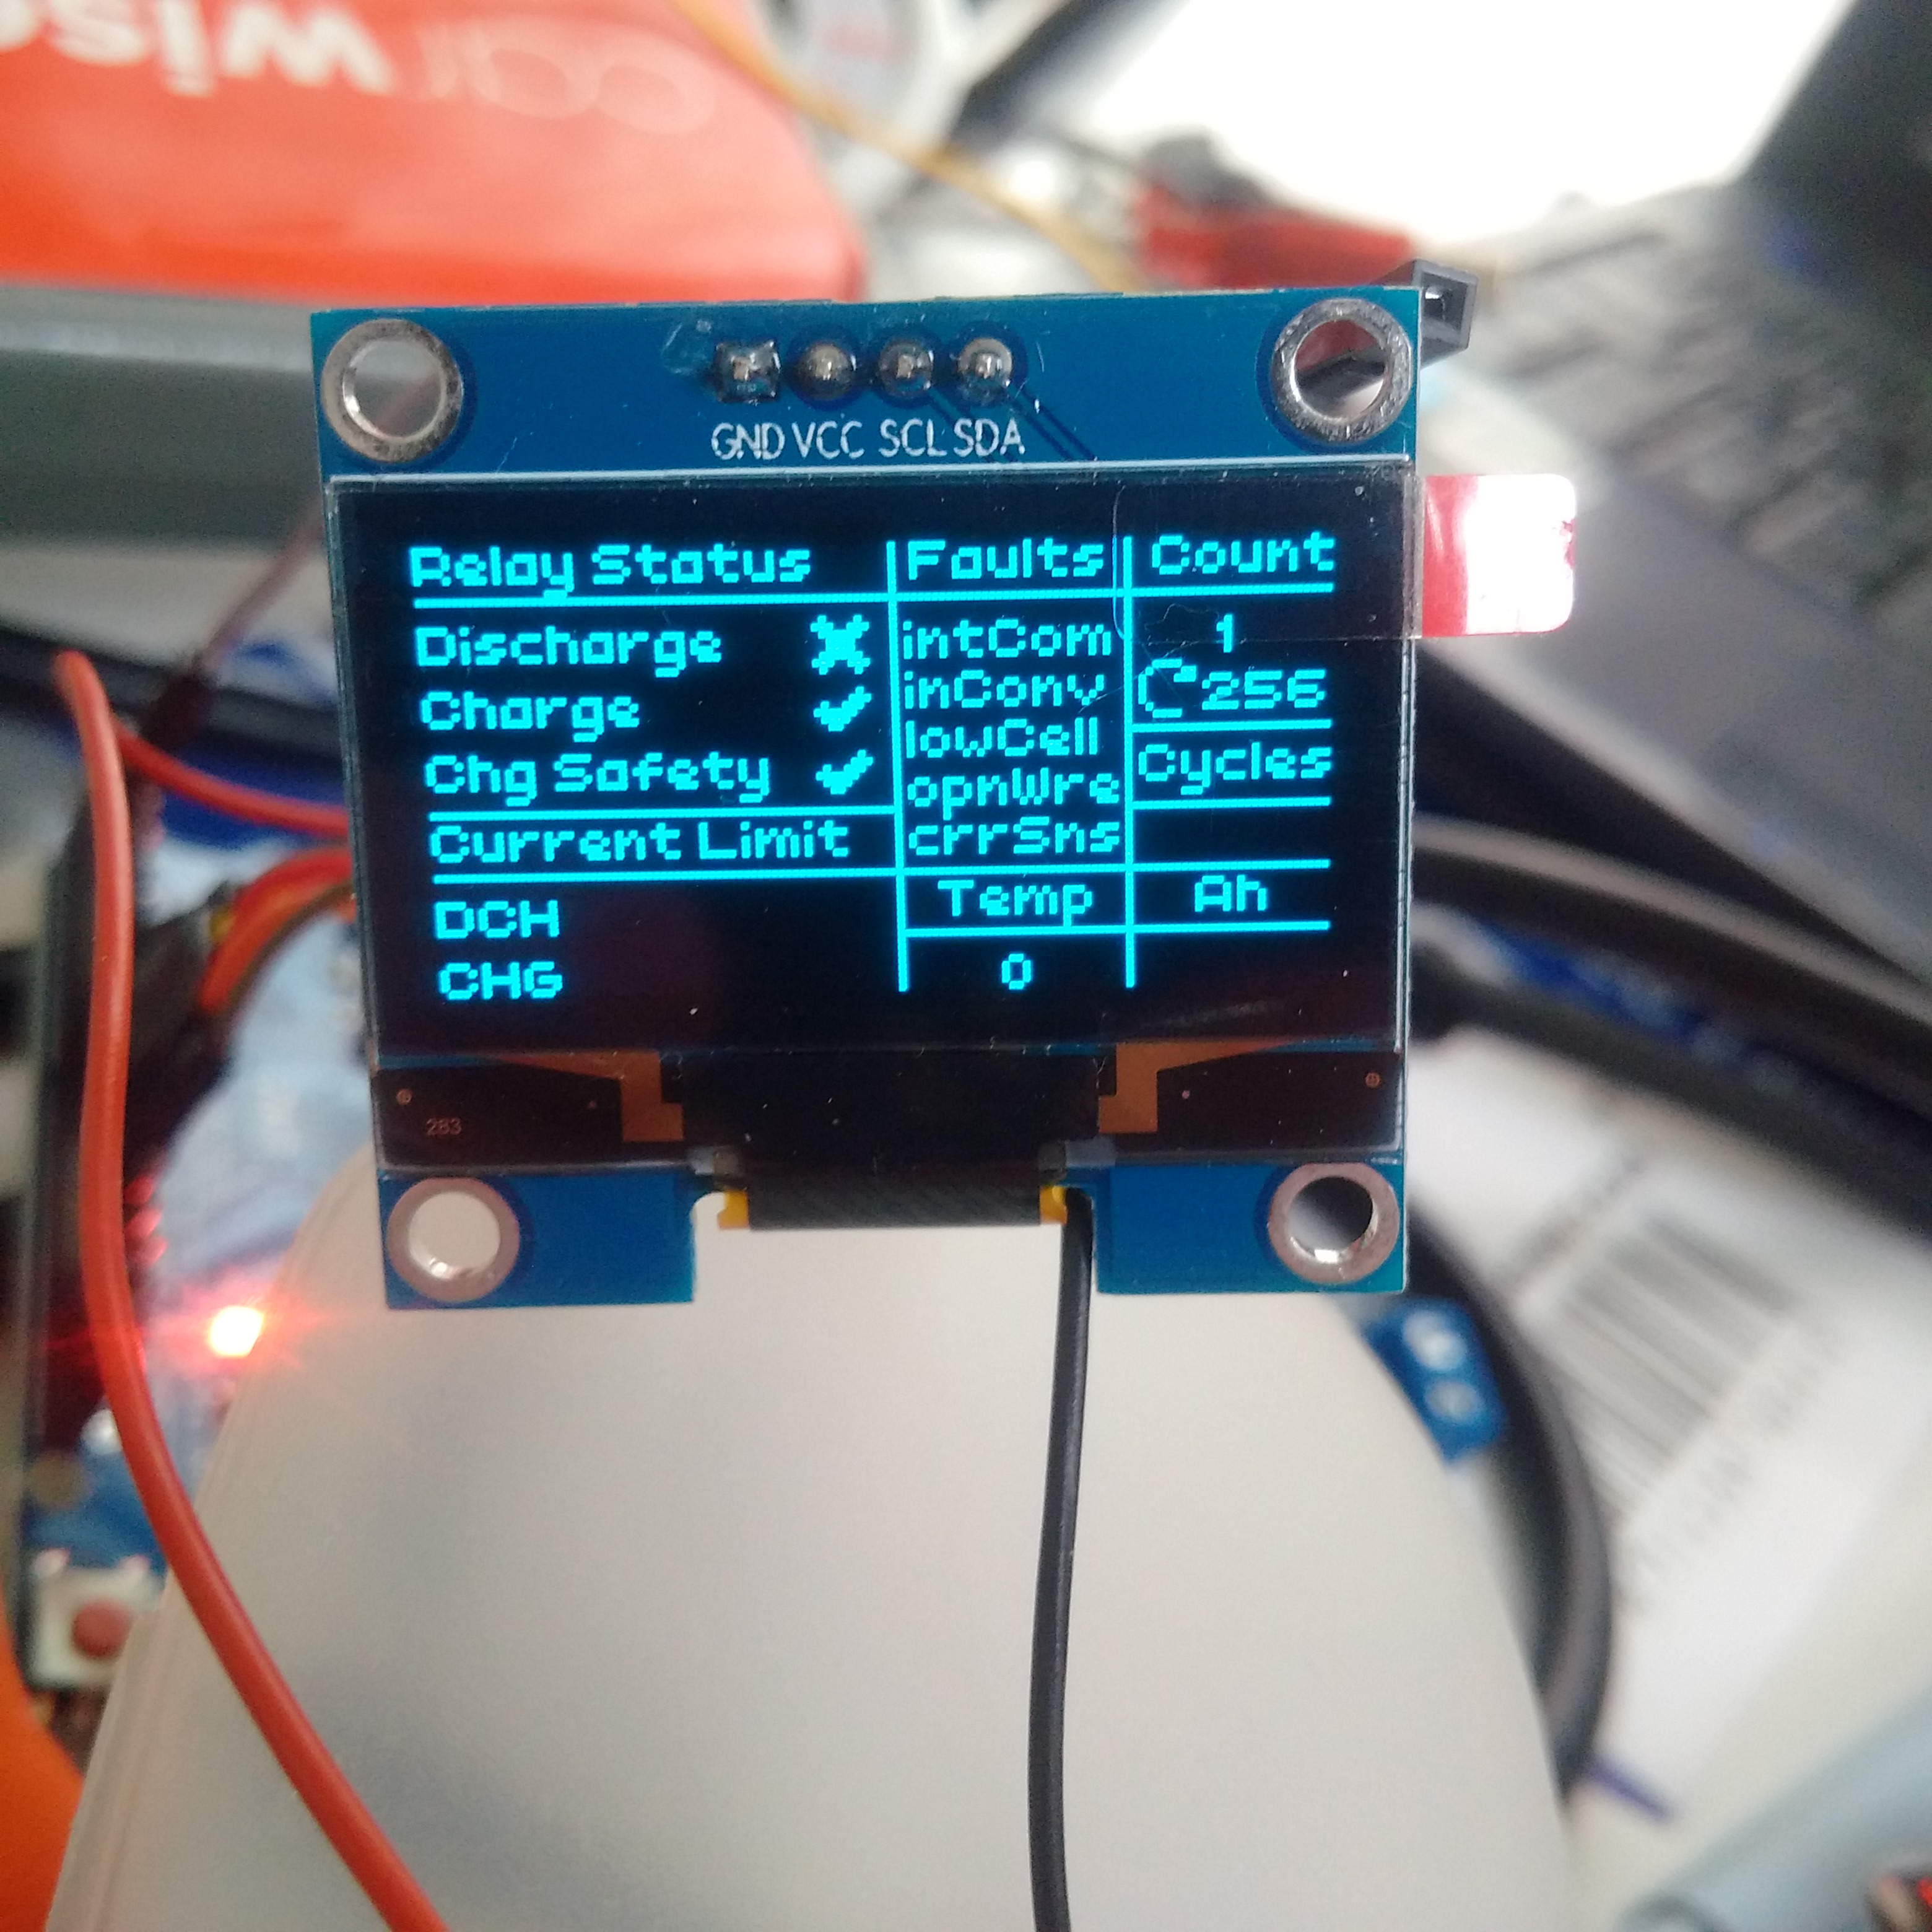
Arduino is the name of the mini computer that powers this instrument. It connects to a normal computer via USB and using the free compiler software, where I wrote a script that features a RPM style Watt gauge, battery state of charge, endurance, solar charging, shore power charging, cell data, temperatures, faults and more.
To create this program a little technical knowledge and patience comes a long way. The scripting language used here is some hybrid C/C++ Arduino language to simplify programming for novices. With the internet full of great resources this turned out to be both fun and rewarding, not at all as hard as I'd first pictured it.
I have two independent instruments for redundancy. The cockpit instrument has the 3 most essential pages while the cabin has 5 including analog style volt and ammeter. A single push button is used to navigate the pages as well as change screen brightness and clear BMS faults.
Assembly
The computer and display had to live somewhere protected and I found the best solution was to design a house on my free CAD software. I then 3D printed the parts and put it all together. Fun project I am really pleased with.
The code is available at GitHub  , however there is work in progress so do read the readme file first. more...